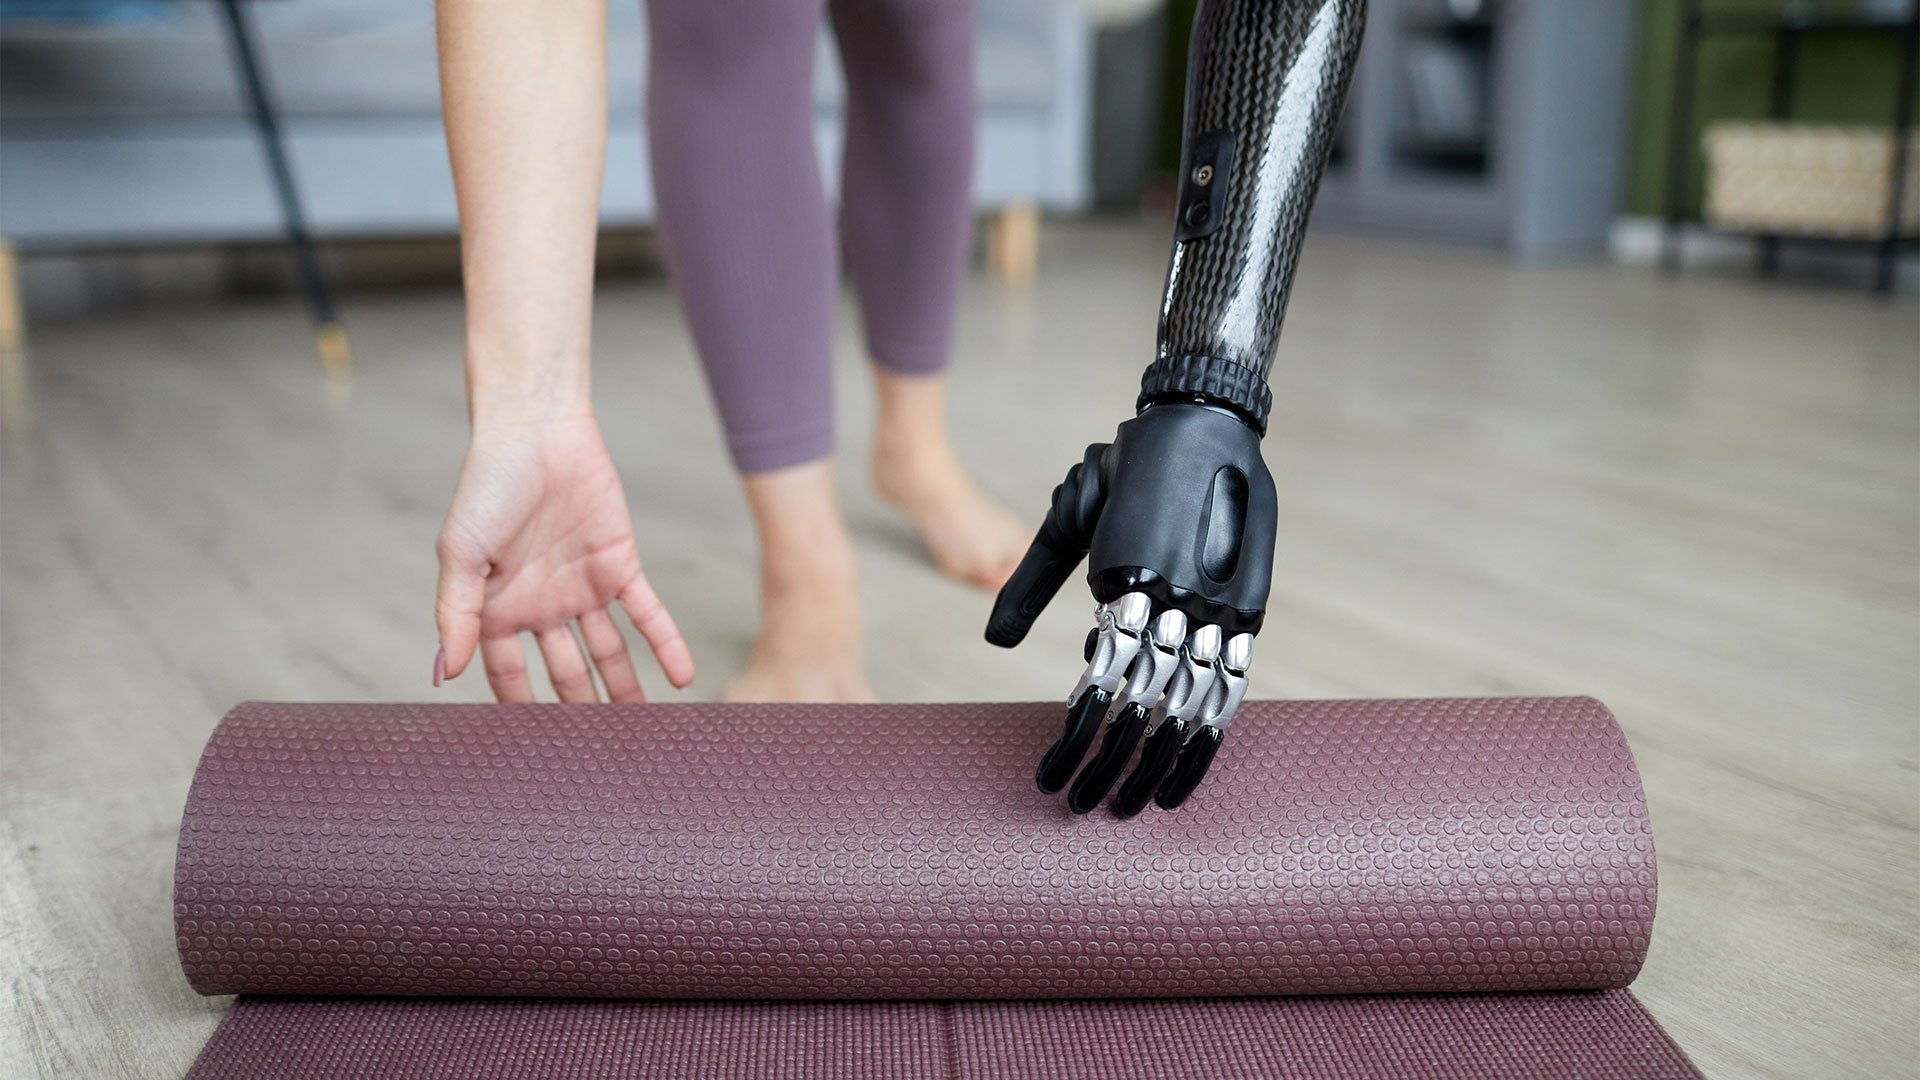
Go-To Movements for Upper Extremity Amputees
Let’s be honest—most fitness advice out there isn’t made with upper extremity amputees in mind. You scroll past generic workout plans, watch trainers demo two-handed lifts, and think, “Yeah, that’s not gonna work for me.” And you’d be right.
Here’s the thing: upper limb amputations only account for about 3% of limb loss in the U.S., which shakes out to roughly 41,000 people out of nearly 2 million living with limb difference. That makes upper extremity amputees a small—but mighty—community. And because of that, adaptive resources aren’t always as visible as they should be.
But that doesn’t mean the movement stops. It just means the playbook looks different.
So...what should upper extremity training focus on?
For starters—think function first. That means:
Strengthening the muscles around the residual limb
Building up the sound side (without overworking it)
Keeping your core and legs strong to carry the load
Reinforcing symmetry wherever possible
Whether you're looking to boost balance, power through day-to-day tasks, or just feel strong again in your body—these movements are your foundation. And yeah, we’re keeping it simple, functional, and real. Ready?
1. Banded Seated Single Arm Rows
If you’re only doing one upper-body move this week, make it this one. This isn’t just about muscle. It’s about movement patterns that mimic real life. Opening a door, lifting a bag, and steadying yourself when you stumble—these all call on the upper back.
Why it’s gold: This row builds the rhomboids and lats—key muscles that help control posture and movement in your torso and shoulders. It also reinforces the mind-muscle connection on both the sound and affected side.
How to do it
Sit on a sturdy box or bench. Loop a resistance band around a fixed object in front of you, at chest height.
Using your sound side first, grab the band and pull it toward your chest, keeping your elbow tucked and shoulder blade down and back.
Pull until your hand just brushes the outer edge of your chest—right near the armpit. Hold that squeeze.
Then slowly return to the start.
For the affected side, secure the band to a grip aid at the furthest part of your limb. Try to mimic the motion as closely as you can, even if the range feels limited at first. That feedback matters.
Recommended: 3-5 sets of 10–15 reps per side
Pro tip: If your posture starts to crumble halfway through the set, pause. Reset. Don’t let the reps be sloppy. Control > speed.
See this visual reference below; please note we did not create this demonstration, so it may not be 100% 1:1 to our instructions above but serves to help our instructions be more visually clear.
2. Dumbbell Bench Press
This one might sound intimidating—but once you get the setup dialed in, it becomes a game changer. It’s about pressing strength, chest activation, and evening out the push-pull dynamic in your torso.
Why this works: Pressing movements strengthen the pecs, front delts, and triceps. But this also tests core engagement—because if you’re pressing heavy on one side, you’d better believe your core has to wake up and help.
How to set it up
Lie on a flat bench with a band anchored under or behind you.
Use a grip aid to secure the band to your affected side. This isn’t about tension—it’s about positioning and symmetry.
Have someone hand you a dumbbell for your sound side. Start from the bottom (elbow bent, dumbbell close to chest).
Press up smoothly, engaging your core. Keep your shoulder blades retracted the whole time.
Lower slowly and reset.
Recommended: 3–5 sets of 10–15 reps
Heads up: Keep your glutes relaxed and your core locked. You don’t need to arch your back like a powerlifter—just stay grounded and stable. It’s about control, not ego lifts.
See this visual reference below; please note we did not create this demonstration, so it may not be 100% 1:1 to our instructions above but serves to help our instructions be more visually clear.
3. Russian/Weighted Twists
Core work isn't flashy, but it's crucial. And rotational strength? That’s the real MVP. Whether you're reaching for a seatbelt or stabilizing during a fall, you need that twist power.
What it trains: Obliques, transverse abdominis (deep core), balance, coordination—basically your entire midsection.
Here’s the setup
Sit on a mat or box. Bring your knees up and recline slightly until your abs fire up.
Rotate your torso to the left, stop when you hit the end of your natural range—don’t force it.
Hold for 1–3 seconds, then rotate to the right.
If you can, hold a medicine ball between your arms (or between your sound side and residual limb) to increase the challenge.
Recommended: 3–5 sets of 20–30 total rotations
One more thing: Don’t rush these. Controlled twists > fast ones. Feel your core working with every hold.
See this visual reference below; please note we did not create this demonstration, so it may not be 100% 1:1 to our instructions above but serves to help our instructions be more visually clear.
Fitness Isn’t About Looking Symmetrical—It’s About Feeling Balanced
Honestly, we get it. Some days, it’s not just about muscles or movement. It’s about feeling whole again. Feeling capable. That’s why these movements aren’t just about the physical—they’re a reminder that strength isn’t always about how much you lift. Sometimes, it’s about showing up, tweaking the plan, and trying again.
So if you’re someone navigating life with an upper limb difference, and you're wondering where to even start, start here. Three simple moves. No fluff. No gimmicks. Just your body, your grit, and a plan that actually fits.
Ready to take action?
Bloc Life is committed to empowering all individuals to achieve their health and wellness goals through education and support. Join our adaptive and inclusive community to unlock your full potential.

